Refinishing Steps |
Additional Door Services |
-
Removing the door
-
Removing the hardware
-
Stripping old finish
-
Sanding
-
Staining & finish
-
Installing door space
-
New Doors
-
Repairs
-
Hardware Replacement
-
Sliding Doors Track Repair
-
Weather stripping
-
New Threshold
-
Kick Plates Installed
-
Door Installations
-
Maintenance
-
Painting
-
Door breakins — we offer 24hr service to make you safe after a break-in
-
Door adjustments — we replace rotten wood before installing your door space
Samples by our Master Refinishers |
Before & After Photos
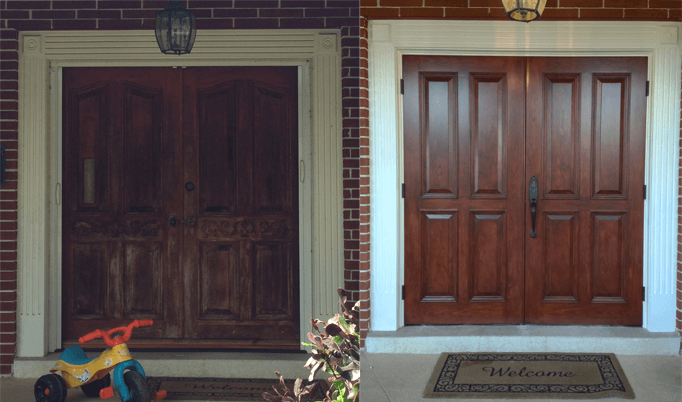
We replaced the badly weathered doors with these impact rated mahogany doors and outfitted it with Sandcast Bronze hardward.
Before & After Photos

There was no Before & After Photo
We made this impact rated mahogany custom door (micro-groove design) with matching custom sidepanels while the house was being constructed.
It is the original door on the home.
It arrived to us raw. We stained it in wenge and fully finished it with matte polyurethane.
The pulls are also custom made.
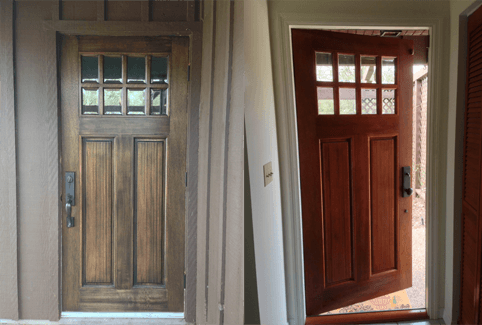
Sometimes a client wants to achieve a particular look or feel on the outside of their home – but that look or feel may conflict with their interior decor or color scheme. In those cases a two-tone finish can help address their needs.
The pictures show the same mahogany door as finished on the outside (medium walnut stain with satin poly) and the inside (natural satin).
We outfitted it with Sandcast Bronze hardware.
View Larger Photo
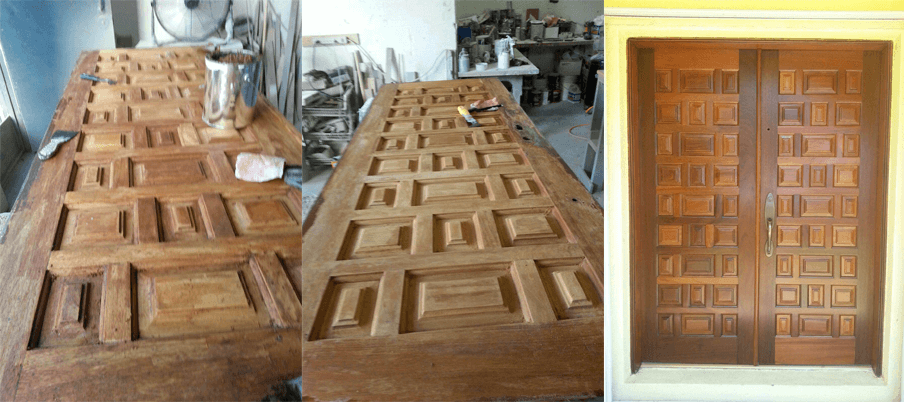
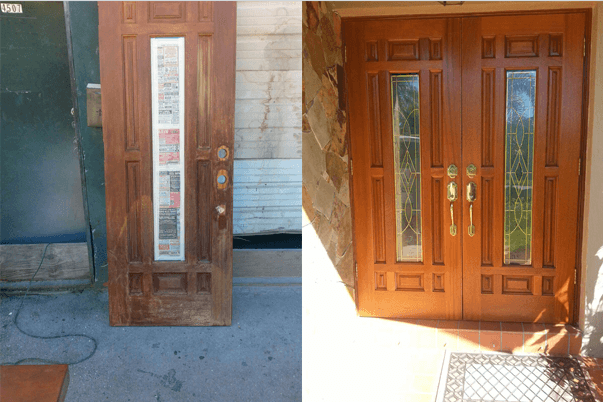
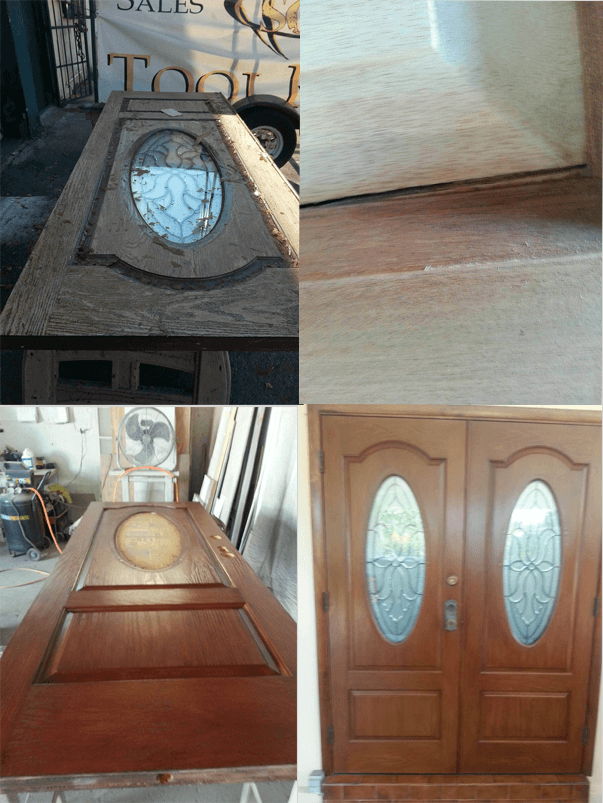
Here is a picture of a double door being stripped and cleaned up prior to being re-finished. The end result after they were re-stained, re-finished and re-installed is also shown
This is a double door that was refinished.
The first photo shows how it looked when we picked it up.
The second photo shows the refinished product.
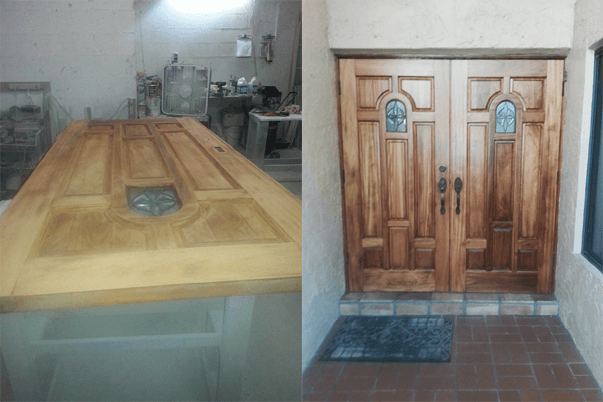
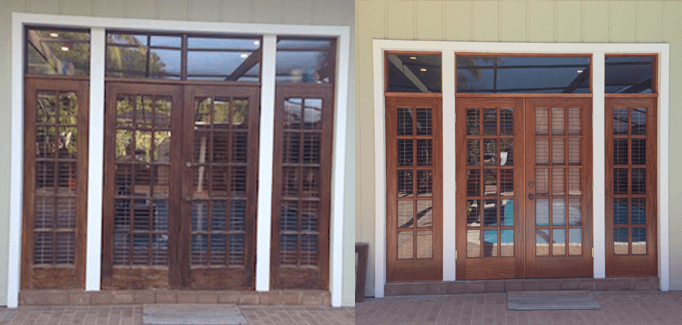
Here is a double door that was refinished. The client purposely desired to leave the variation in the grain on the doors as is. Very little stain was applied in the process so as to achieve as close as possible to an all natural look.
First shown in it’s stripped clean state.
It was then re-stained, re-finished and re-installed.
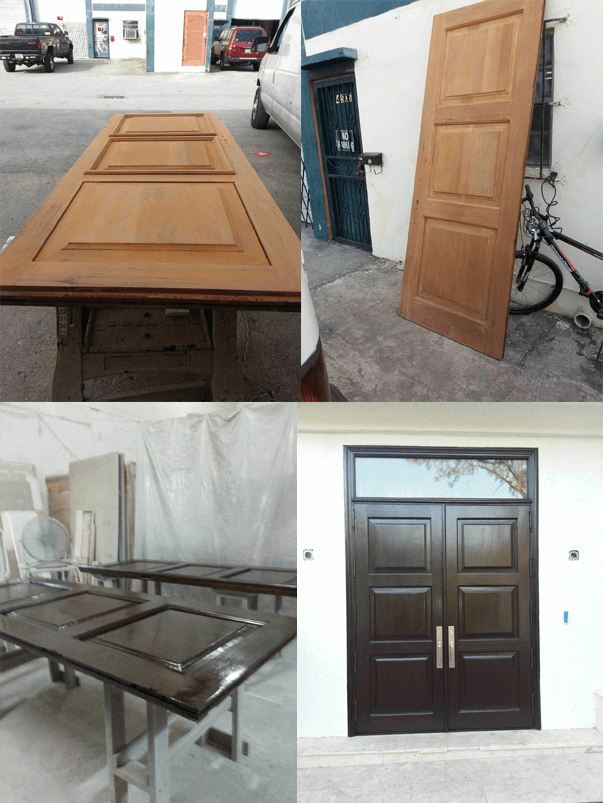
The top left pic shows it with the stain and polyurethane in the process of
removal. You can still see the stain and polyurethane crackled atop the
door as it is being removed.
The top right shows a close up of the corner after it’s been stripped clean.
In the lower left photo the stain has been applied.
The final photo shows the refinished doubled door after it had been rehung
on the home.
This is a nice sequence of photos because the door’s finish – when we received it – was in really bad shape.
